
Introduction
Chickpea plants, also known as garbanzo beans, are a staple in many diets around the world. They are not only delicious but also packed with numerous health benefits. When you enjoy a salad, a bowl of hummus, or a hearty chickpea curry, you might find yourself thinking about growing your own chickpea plants.
Growing your own chickpea plants at home is not only an exciting endeavor but also a rewarding one. It allows you to have a fresh supply of these nutritious legumes right at your fingertips. Moreover, it gives you control over the growing conditions, ensuring that no harmful chemicals are used in the process. This way, you can enjoy the healthiest chickpeas possible, knowing that they are grown with care and attention.
However, growing chickpea plants at home requires knowledge and understanding of the plant’s needs and growth cycle. From knowing when to sow the seeds, how to care for the growing plants, to when and how to harvest the chickpeas, each step is crucial to ensure a successful harvest.
We understand the challenges that come with starting a new gardening project, especially when it involves a plant you’ve never grown before. That’s why we’ve put together this comprehensive guide on how to plant and grow chickpea plants at home. Whether you’re a seasoned gardener looking to add a new plant to your garden or a beginner eager to start your gardening journey, this guide is designed to provide you with all the information you need to grow chickpea plants successfully.
So, let’s dive in and explore the world of chickpea plants, from understanding their background and types to the step-by-step process of growing and caring for them, and finally, harvesting and enjoying your homegrown chickpeas.
Understanding the Chickpea Plant: A Journey Through Its History and Types
The chickpea plant, scientifically known as Cicer arietinum, is a member of the Fabaceae or legume family. This family is known for its nitrogen-fixing properties, which enrich the soil and make it more fertile for other plants. Chickpeas are predominantly cultivated in India, accounting for about 80-90% of the global production. However, their cultivation is not limited to India alone.
Chickpeas have a rich history that dates back to 8500 BC, making them one of the oldest cultivated legumes. They originated in the Mediterranean and Middle Eastern regions, particularly in areas like Turkey. Over the centuries, their cultivation spread across the globe, and today, they are a staple in many cuisines, from Indian and Middle Eastern to Mediterranean and even American.
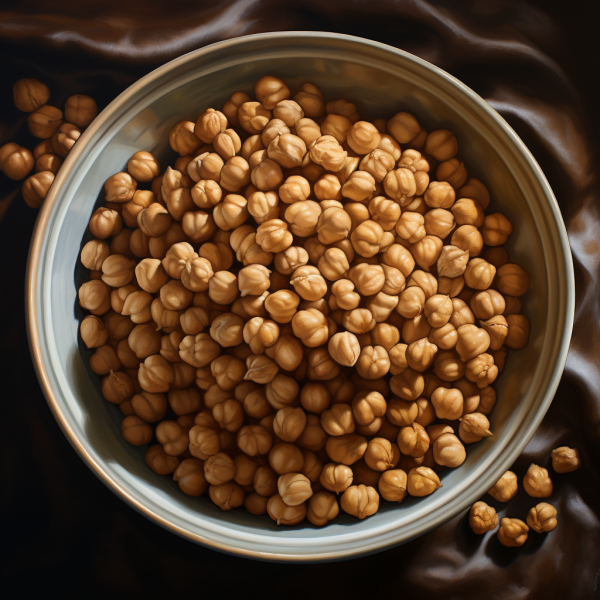
Chickpeas, also known as garbanzo beans, are incredibly versatile. They can be consumed in various forms – dried, canned, or fresh. Dried chickpeas are often soaked and cooked before consumption, while fresh ones can be added directly to salads and other dishes. They are a key ingredient in many popular dishes like hummus, falafel, and chana masala.
There are two main types of chickpeas – Desi and Kabuli. The Desi variety, also known as black beans or Bengal Gram, is characterized by its small, round shape, dark color, and rough exterior. On the other hand, the Kabuli variety, commonly referred to as garbanzo beans, is larger, round, and light-colored with a smooth exterior. While both varieties have their unique characteristics and uses, Kabuli chickpeas are the most commonly grown in home gardens due to their larger size and milder flavor.
Understanding the different types of chickpeas and their unique characteristics is the first step in successfully growing them at home. In the following sections, we will delve deeper into the process of growing chickpeas, from preparing the planting area to harvesting your homegrown chickpeas.
Mastering the Art of Growing Chickpea Plants
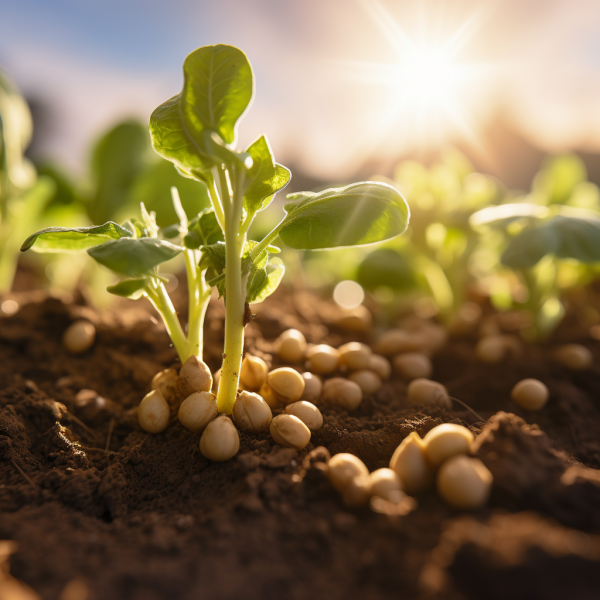
Growing chickpea plants can be a rewarding experience, especially when you see the plants thriving and the pods forming. Like most legumes, chickpea plants can reach a height of 30-36 inches, with the pods forming at the top of the plant. One crucial thing to note is that chickpea plants are not suitable for transplantation, so direct sowing is the best method.
Chickpea plants are frost-resistant and prefer cooler weather, making early spring an ideal time to start planting. Aim to plant about a week before the date of the last expected frost. Generally, chickpeas need at least three months of cool but frost-free days to ripen and be ready for harvest.
Here’s a more detailed guide on how to grow chickpea plants:
- Prepare the Planting Area
Chickpea plants thrive best in loose, well-drained soil. They are not particularly demanding when it comes to nutrition, but amending the soil with a small amount of natural compost can optimize their growth. Choose a location that receives at least six hours of full sun per day, as chickpeas are sun-loving plants.
- Sowing the Seeds
Directly sow the seeds about an inch deep when the soil temperature is at least 50-60 degrees Fahrenheit. Plant in rows, leaving about 3-5 inches of space between each hole. The rows should be spaced about 12 inches apart, allowing the plants to support each other as they grow.
- Watering
After sowing, water the area lightly to set the soil. This also helps keep the soil moist, promoting successful germination. However, avoid watering too deeply when the seeds are starting to germinate, as this can lead to excessive water evaporation, potentially damaging the seeds.
- Thinning the Plants
Once the chickpea seedlings have reached about three inches in height, it’s time to thin them out. This process involves removing some of the seedlings to prevent overcrowding, ensuring that there’s about 4-6 inches of space between each plant. This gives the remaining plants enough room to grow and thrive.
By following these steps, you’ll be well on your way to growing your own chickpea plants. In the next section, we’ll cover how to care for your chickpea plants to ensure a healthy and bountiful harvest.
Interested in what else you can grow? Check out our other guides!
Essential Care Tips for Your Chickpea Plants
Once your chickpea plants are established, proper care is crucial to ensure a healthy and productive crop. Here are some essential care tips for your chickpea plants:
- Watering: Water your chickpea plants only when the top layer of soil feels dry. This will help maintain an evenly moist soil environment. Avoid watering directly above the plant’s head as this can make your chickpea plant susceptible to mold.
- Mulching: Apply a thin layer of mulch around the chickpeas to keep the soil warm and moist. Mulch also helps suppress weeds and conserve soil moisture.
- Fertilizing: Chickpea plants, like most legumes, have the ability to fix nitrogen from the atmosphere, reducing the need for nitrogen fertilizers. However, a balanced 5-10-10 fertilizer can be applied if needed to keep them nourished.
- Companion Planting: Consider growing chickpeas along with companion plants such as summer savory or cucumber. These plants can help the chickpeas break down nitrogen with nodules on their roots, benefiting the soil. However, avoid growing chickpeas with onions or garlic as they can release chemicals that inhibit the growth of the beans.
- Pest and Disease Management: Chickpeas can be susceptible to pests and diseases. Common pests include aphids, leafhoppers, mites, and flea beetles. These can be managed by using a jet of water to dislodge them. Diseases generally occur due to fungal or bacterial infections. If your chickpea plant shows signs of infection, such as dead leaves, discoloration, or stunted growth, remove the plant immediately to prevent the disease from spreading.
- Weed Management: Regularly check for and gently remove any visible weeds, being careful not to disturb the root system of your chickpea plants.
By following these care tips, you can ensure that your chickpea plants remain healthy and productive, leading to a bountiful harvest. In the next section, we’ll discuss how to harvest your chickpeas.
Harvesting Your Homegrown Chickpeas: A Step-by-Step Guide
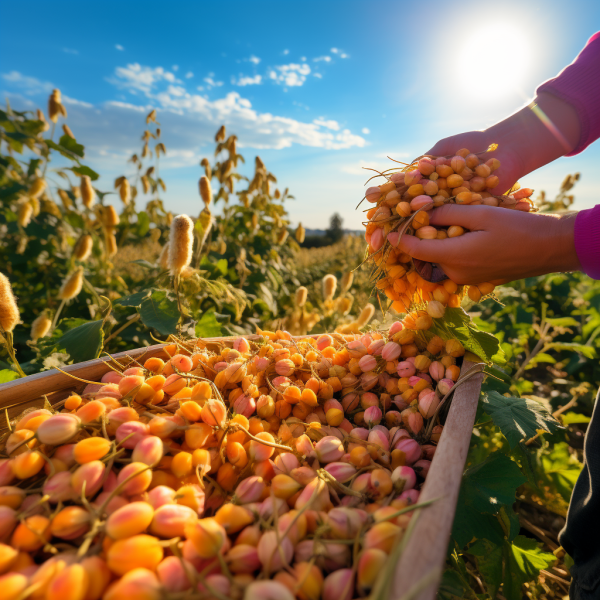
After about two months from seeding, your chickpea plants should be ready for harvest. This is one of the most rewarding parts of the growing process, as you finally get to reap the fruits of your labor. Here’s a step-by-step guide on how to harvest your chickpeas:
- Timing: Harvest your chickpeas when they have started to wilt and turn brown. This is a sign that the chickpeas are mature and ready to be harvested.
- Harvesting: Gently pull out the chickpea plant from the soil and place it on a flat surface, such as a floor mat, in a well-ventilated area. This allows the pods to dry out further, making it easier to collect the seeds.
- Collecting Seeds: Once the pods have dried and cracked open, carefully collect the seeds. Re-examine each stem for any remaining seeds that have not fallen and peel the pods that have not opened with your fingers.
- Storing: After you’ve collected all the dried beans, place them in an airtight container and store them in a cool, dry place. This will help preserve their freshness and quality. For some unpeeled chickpeas, you can store them in the refrigerator for up to one week.
Harvesting your own chickpeas is a fulfilling experience. Not only do you get to enjoy the fruits of your labor, but you also get the satisfaction of knowing that the chickpeas you’re consuming are fresh, organic, and grown with care. In the next section, we’ll wrap up this guide and provide some final thoughts on growing chickpeas at home.

Cat-Friendly Gardening: Creating a Safe Haven for Your Feline Friends
Table of Contents Introduction Hey there, fellow feline enthusiasts! 🐾 Welcome to a space where your garden becomes not just a patch of green but

From Lilies to Sago Palms: Protect Your Cat from These 10 Toxic Plants
Table of Contents Introduction: Keeping Your Furry Friend Safe from Toxic Plants Hey there, fellow cat lovers! We all know our feline companions can be

Cat Nutrition 101: Decoding Labels & Essential Nutrients A-Z!
Table of Contents Introduction As a cat owner, you want nothing but the best for your furry feline friend. And that includes providing them with